Occasionally you may encounter problems when using our products. Below, we have created a list of the most commonly occurring issues and how to prevent them.
If you need any other help, get in touch! We retain a sample of all our paint batches so we can usually solve any problems that you might come across.
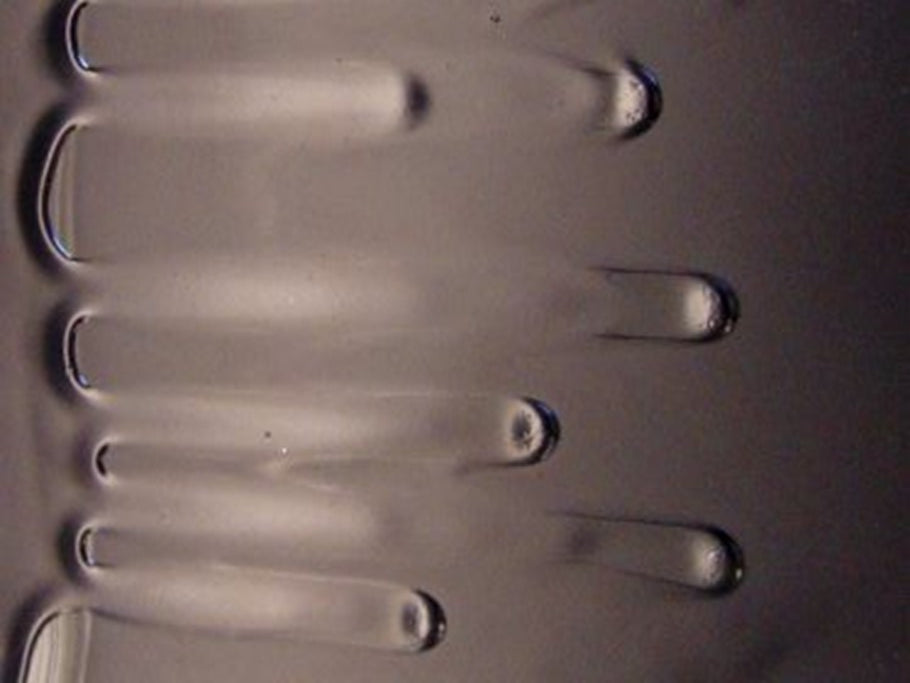
Sagging
Also known as run, running, curtains or dripping. This is due to heavy application of paint that appears uneven on the surface due to excess paint sitting up and running across or down the surface. Most likely to occur on edges & uneven surfaces, less likely in flat area heavy application as there is space for the paint to flow out.
Causes
- Poor application technique.
- Too much thinner (e.g. water) used.
- Surface contamination by grease, silicone, oil, dirt etc.
- Air pressure too low when spraying.
Prevention
- Make sure brush is not overloaded with paint & the paint is not applied too thickly.
- If spraying, ensure using correct spray-gun settings, technique & air pressure. Don’t hold gun too close to the surface and alter the speed of the gun passing over the surface.
- Do not water paint down too much. Often only small quantities of water are required to thin Vintro paints.
- Ensure surfaces are properly cleaned & degreased.
Rectification
- Brush out any sagging whilst paint is wet.
- Lightly sand area until smooth, remove dust and repaint.

Poor Hiding Power/Opacity
The paint does not coat the surface as expected.
Causes
- Insufficient topcoat has been applied.
- Top coat has not been properly stirred.
- Bleed through.
Prevention
- Make sure products are not being overthinned & are being applied to the recommended film thickness.
- Make sure products are thoroughly stirred before application. Metallics in
particular can have lowered opacity if not adequately stirred. - See "bleeding”.
- Some colours naturally have better hiding power than others, (black hides better than yellow or red). It can sometimes be advisable for ease & cost to use primer first then the topcoat to achieve the end colour.
Rectification
- Apply additional coats.
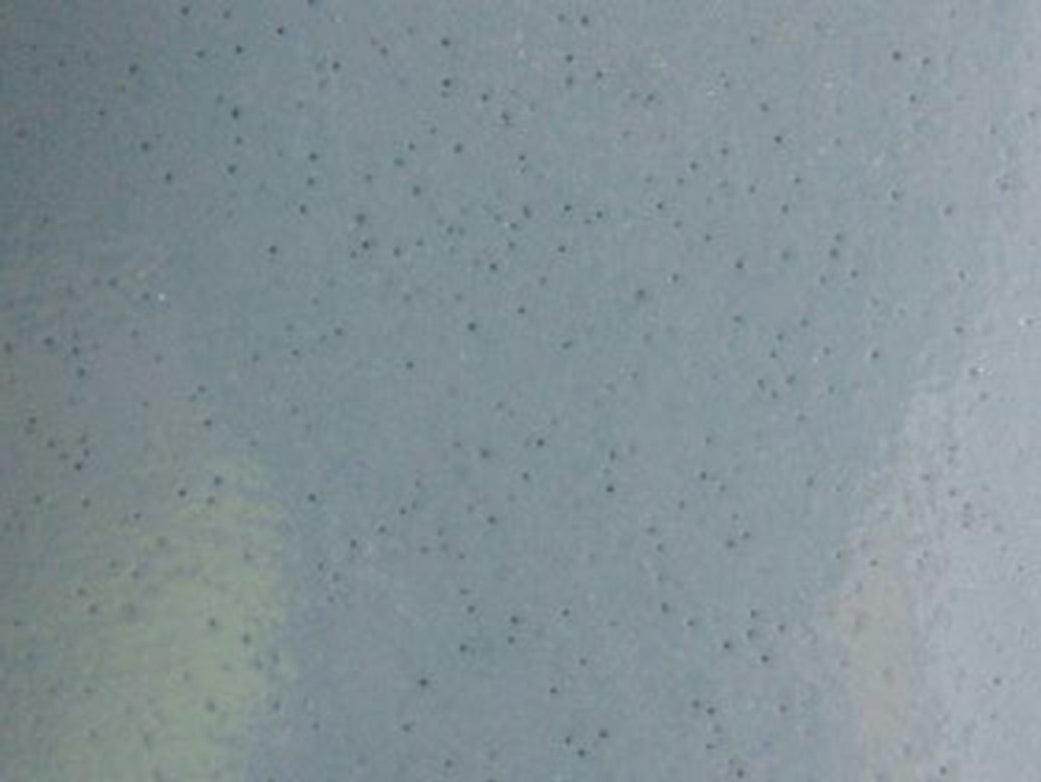
Pinholes
Tiny holes in the paint finish. Pinholes are small blisters whose surface has broken during the drying process & are often caused by trapped air or trapped moisture escaping from the film.
Causes
- Lack of adequate surface cleaning & surface preparation (which will leave contaminants on the surface such as water and oils).
- Incorrect spray gun pressure & technique.
- Improper or forced drying. Fanning or forcing warm or hot air across a newly painted surface can drive air into the surface. If the temperature is too warm, the surface will dry too quickly leaving pinholes behind.
Prevention
- Make sure surfaces to be coated are fully cleaned & degreased & dried before application. Take care to avoid moisture on the surface prior to painting.
- Use correct gun pressure & technique for the product.
- Make sure sufficient drying time is left. If experiencing pinholing, do not dry by blowing warm/hot air.
- Use clean dust free brushes & clean spray-gun equipment and ensure they are properly maintained to avoid trapped oil, moisture and dirt.
Rectification
- Lightly sand area until smooth, remove dust and repaint.
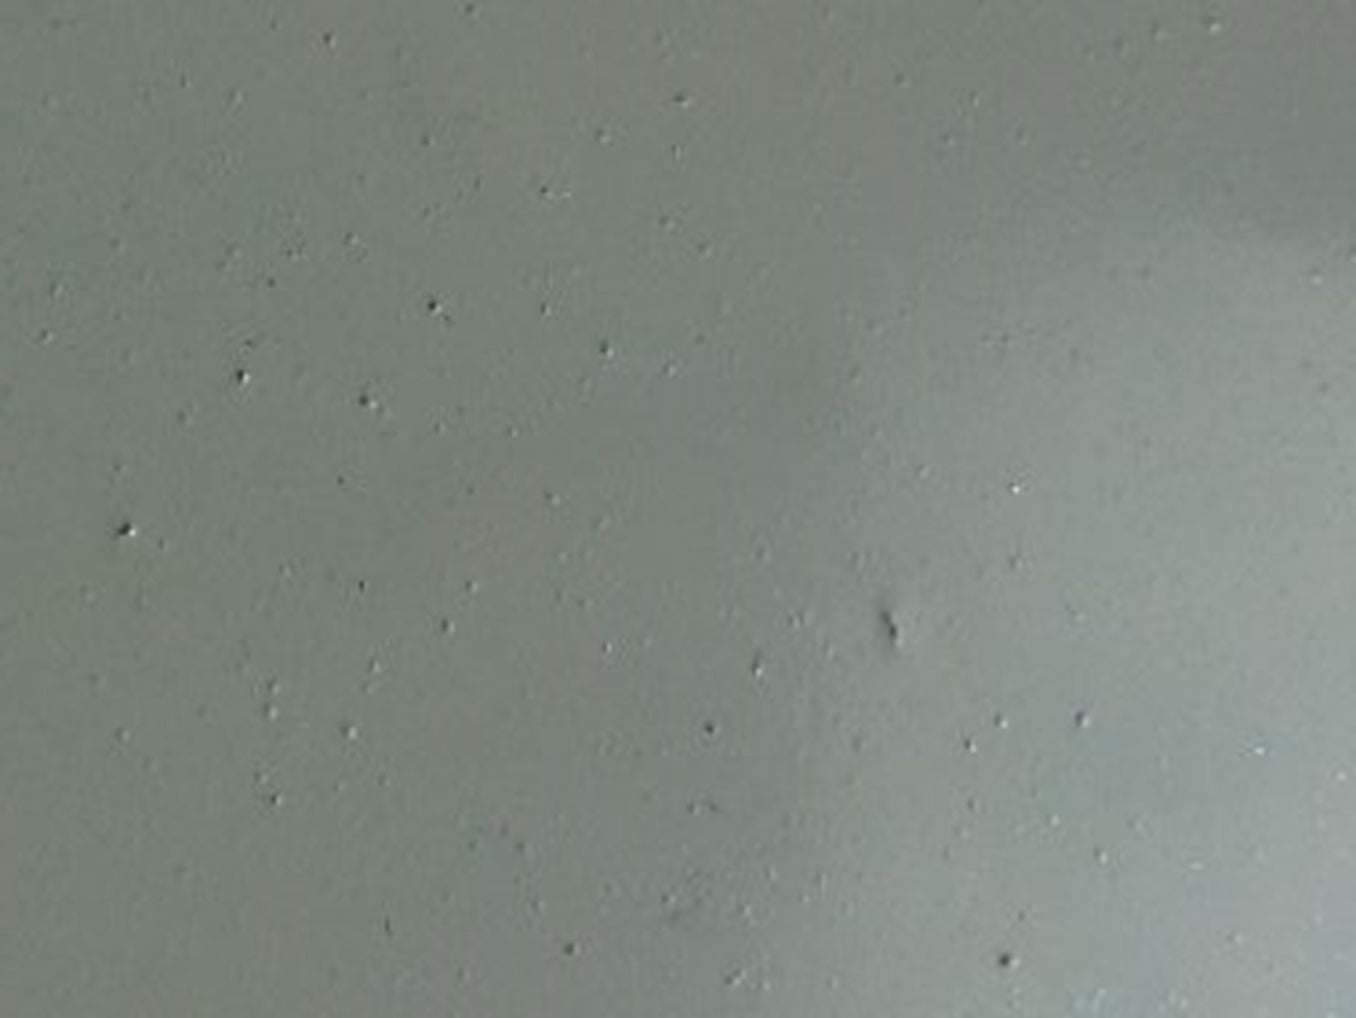
Dirt
Also known as grains, specks, grit, nibs, bits and dirt inclusions. This defect will show particles in the coating. These particles can range from large to small.
Causes
- Dust/dirt/contamination from sanding, brushes, cloths or from working in dusty garage/workshop/outdoors.
- Use of low quality masking tape.
- Surface not cleaned before application.
- Contaminated spray-guns.
- Paint kept in dirty paint cans.
- Failure to remove any "skins" that may have formed. This is generally only when the can has been opened and closed allowing air to the product.
- Paint has been kept longer than its shelf life.
- Dirt, contaminants, oil and dust blown out of corners, crevices & cracks.
Prevention
- Clean surface area including corners, cracks & crevices, ensuring all dust and dirt has been removed.
- Carefully remove skin that may have formed in previously opened paint tins.
- Make sure equipment such as brushes, rollers or spray guns are well maintained & cared for.
- Do not exceed recommended pot life.
Rectification
- Lightly sand area until smooth, remove dust and repaint.
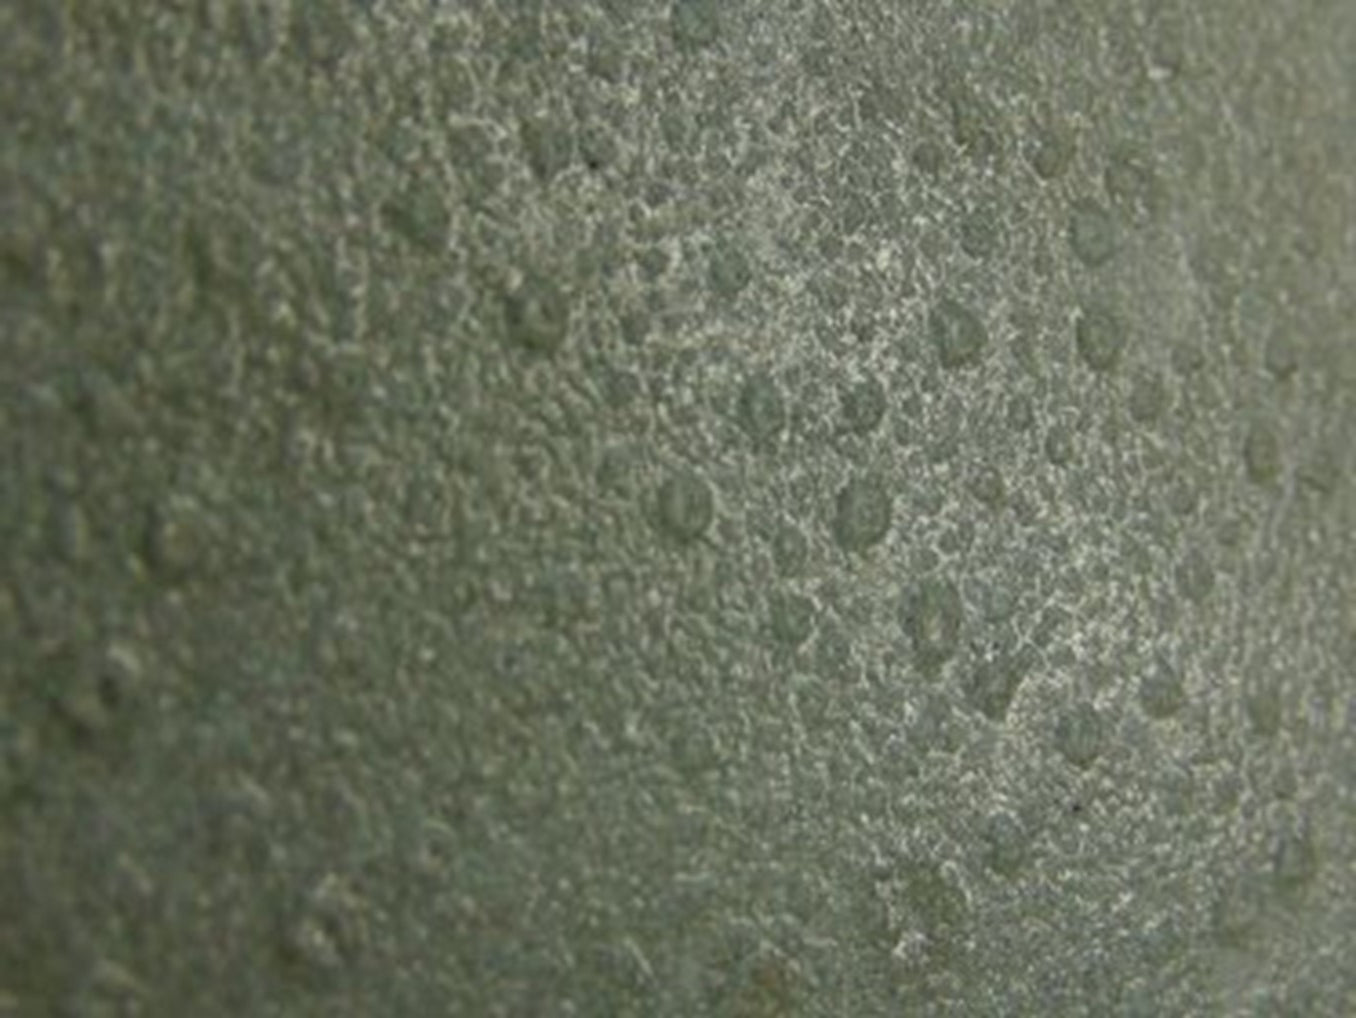
Cratering, Fish-Eyes
Small openings on the paint surface that look like miniature craters. Often the underlying surface will be visible through the crater.
Causes
- Surface contamination is the most common cause. Often the surface cleaning is inadequate leaving traces of oils, silicones, water, dirt etc. Silicone contamination can be especially difficult to remove & require removal with a mineral spirit. Even in very small quantities silicone contamination can cause this effect.
- Hammer finish or other similar type coatings used in the same area prior to painting.
Prevention
- Always thoroughly degrease the surface before and after sanding and make every effort to remove all traces of silicone (if present) by thoroughly cleaning with a mineral spirit.
- Do not use hammer finish in the same areas as other water borne paint finishes.
Rectification
- Lightly sand affected areas until smooth, remove dust and repaint.
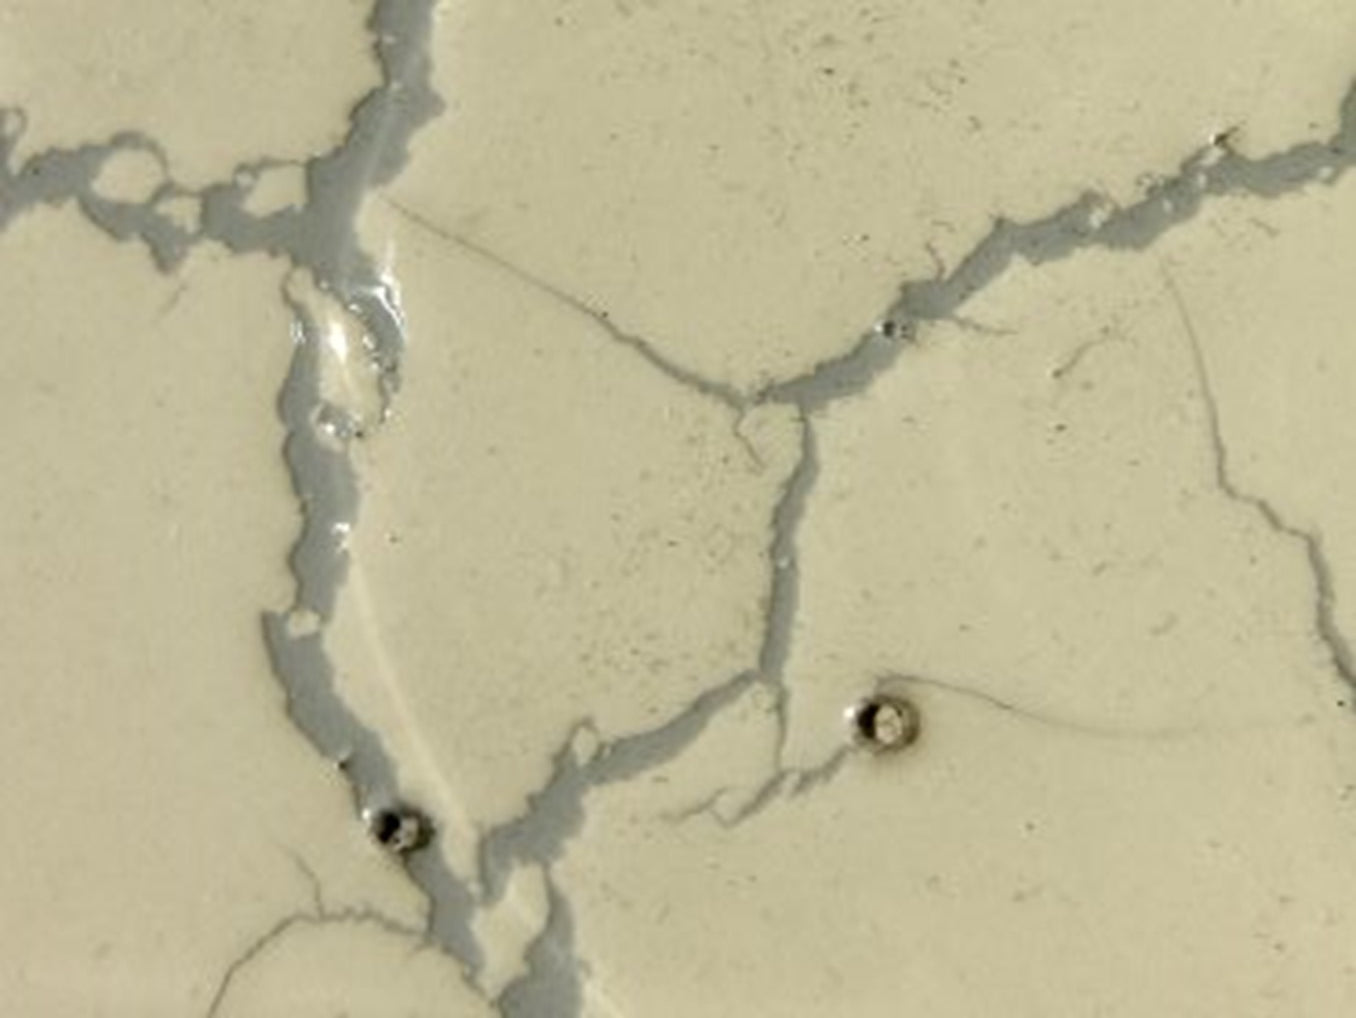
Cracking
Cracking (sometimes referred to as mudcracking) is the formation of cracks ranging from minute hair line sized which do not break the surface of the paint, all the way through to full cracking where wide fissures can be seen. Sometimes the primer coat can be seen thorough these fissures giving a duel colour effect.
Causes
- Excessive film thickness of the topcoat.
- Application of a topcoat over a primer that has been applied too thick or that is only superficially dry.
- Overall paint applied too thick.
- Use of paints incompatible with each other, e.g. water based paints used over oil based paints.
- Direct heat held too close to surface to dry paint quickly.
Prevention
- Avoid excessive piling on of topcoats.
- Avoid excessive application of primer.
- Make sure that the primer & topcoat are compatible with each other (do not use oil based primer with water based paints). If in doubt try a small area first.
- Paints should be stirred thoroughly before use.
Rectification
- Lightly sand area until smooth, remove dust and repaint.
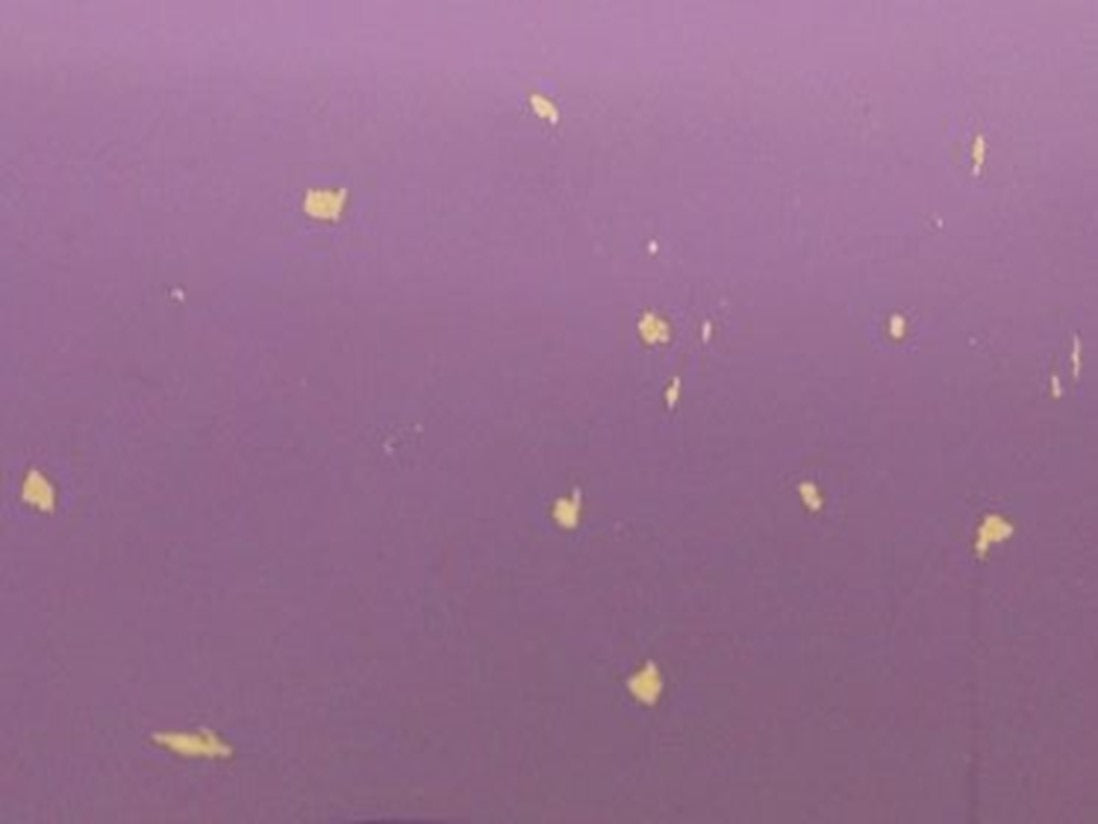
Chipping
Small flakes of paint being removed from surface. It commonly occurs on edges of furniture, trim or doors.
Causes
- Chipping is commonly caused by hard or sharp objects knocking into paint surface, often before it is cured.
Prevention
- Avoid application of excessive thickness of paint.
- Ensure surface preparation is done carefully & thoroughly.
- Make sure correct topcoat has been used for the surface.
- Allow time for paint to cure.
Rectification
When a surface has been chipped further damage can occur quickly.
- Touching in with a small brush is recommended.
- Where damage is more severe, blistering may begin especially in rooms with high humidity, the surface may require sanding and repainting

Bleeding
Commonly known as bleed through. Usually seen as yellow/pink or red discolouration of paint film, often in patches. Commonly occurs when painting antique, dark wood & oak furniture.
Causes
- Solubility of certain dyes & pigments when overcoated, causing colour to be slightly tainted. Commonly occurs when painting antique, dark wood & oak furniture/floorboards/trim.
- Previous water damage to furniture, walls or ceilings leading to staining.
Prevention
- Apply a test of a light colour paint (white) over a small area if you are unsure if bleeding might occur. Bleeding will usually occur as paint dries.
- Wiping with a clear mineral spirit may help remove any dyes, pigments or stains prior to painting.
- Apply Vintro Primer or Vintro Extreme Lacquer as a stain-block/sealer before painting with a topcoat.
Rectification
- Sand & apply a stain block/sealer such as Vintro Primer or Vintro Extreme Lacquer before painting with topcoat.
Poor Adhesion
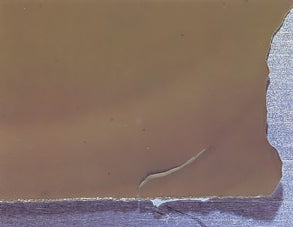
Commonly seen as flaking/peeling of paint.
Causes
- Contamination of surface by dirt, grease, dust, silicon, oil, water etc.
- Use of water based paint over an oil based paint.
- Insufficient preparation of surface prior to painting.
- Insufficient drying time.
- Excessively thick paint application.
Prevention
- Previous oil paint should be cleaned, sanded and primed before applying water based paints.
- Apply Vintro Primer to any metal pipes or radiators before painting with Vintro Gloss or Vintro No Seal Chalk Paint.
- Allow sufficient drying time of Vintro Primer before recoating.
- Do not apply excessively thick coats of paint.
Rectification
- Any loose paint must be removed before thorough surface preparation and recoat.

Balling of Vintro Chalk Paint
Small round balls of paint appearing on the surface.
Causes
- Overworking of chalk paint.
- Insufficient cleaning of surface prior to painting.
- Insufficient drying time left between coats.
Prevention
- Clean & ensure free from dust, debris, silicon, oil & grease.
- Do not overwork paint by repeatedly passing brush over the surface.
- Ensure first coat is thoroughly dry before applying a second coat.
Rectification
- Once dry, lightly sand over balls with fine grade sandpaper, dust & recoat if needed or apply a finishing product such as Vintro Wax or Vintro Extreme Lacquer.
